

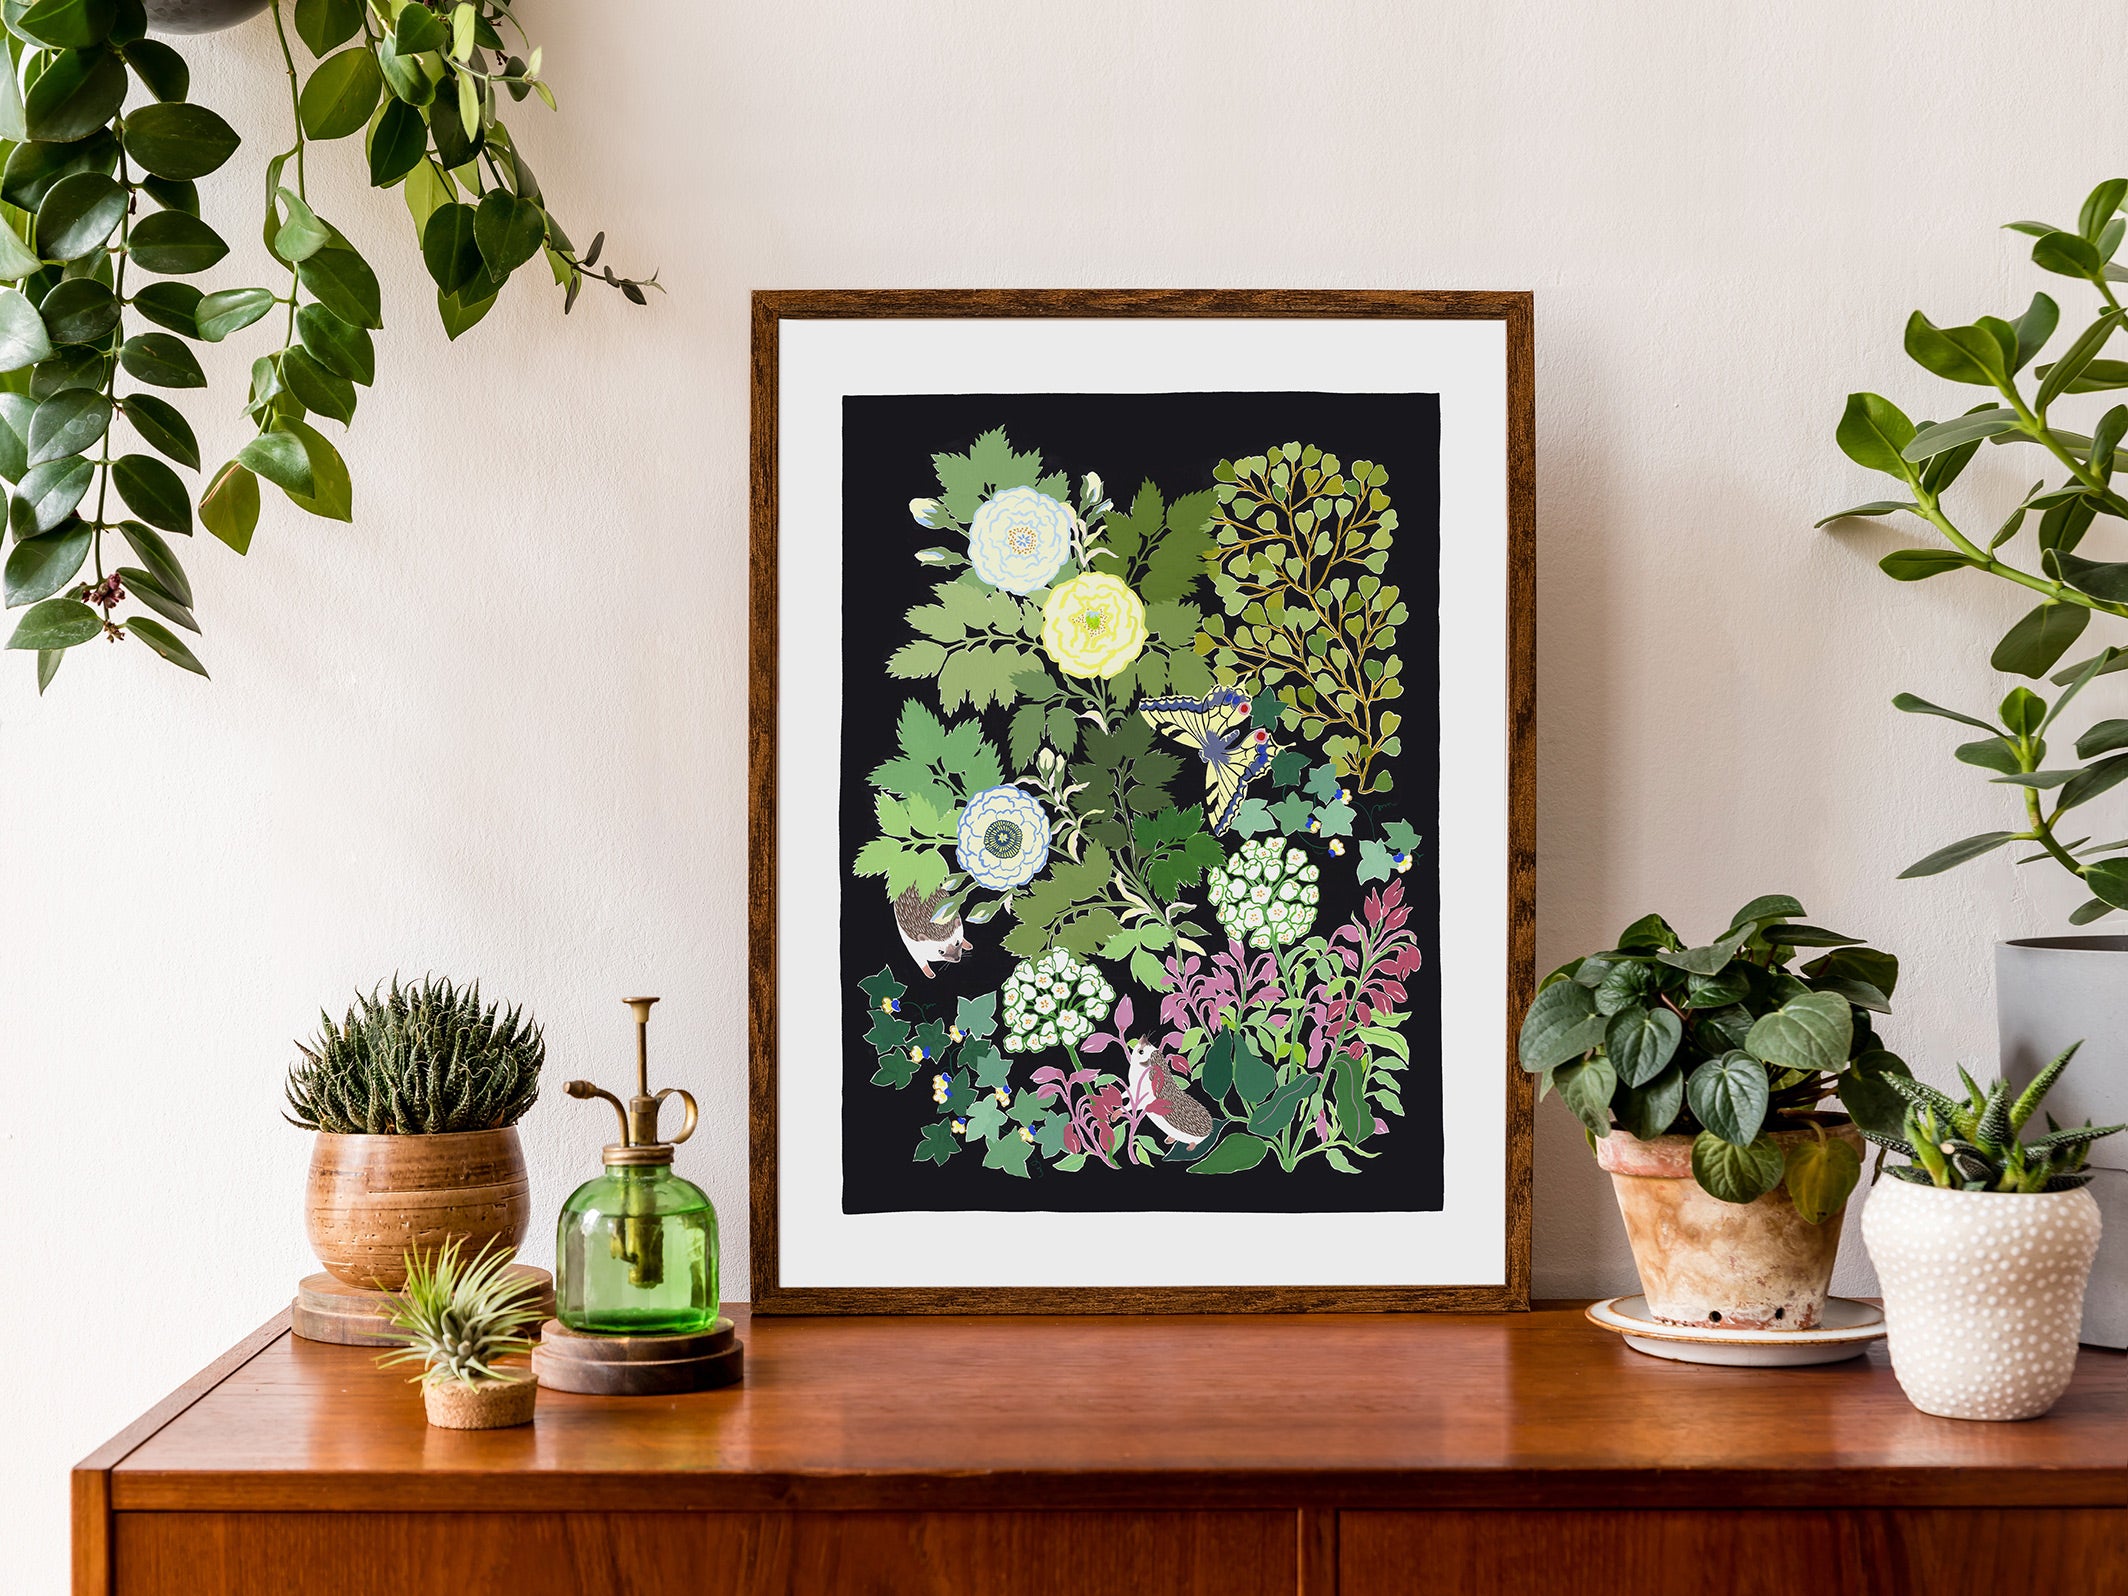
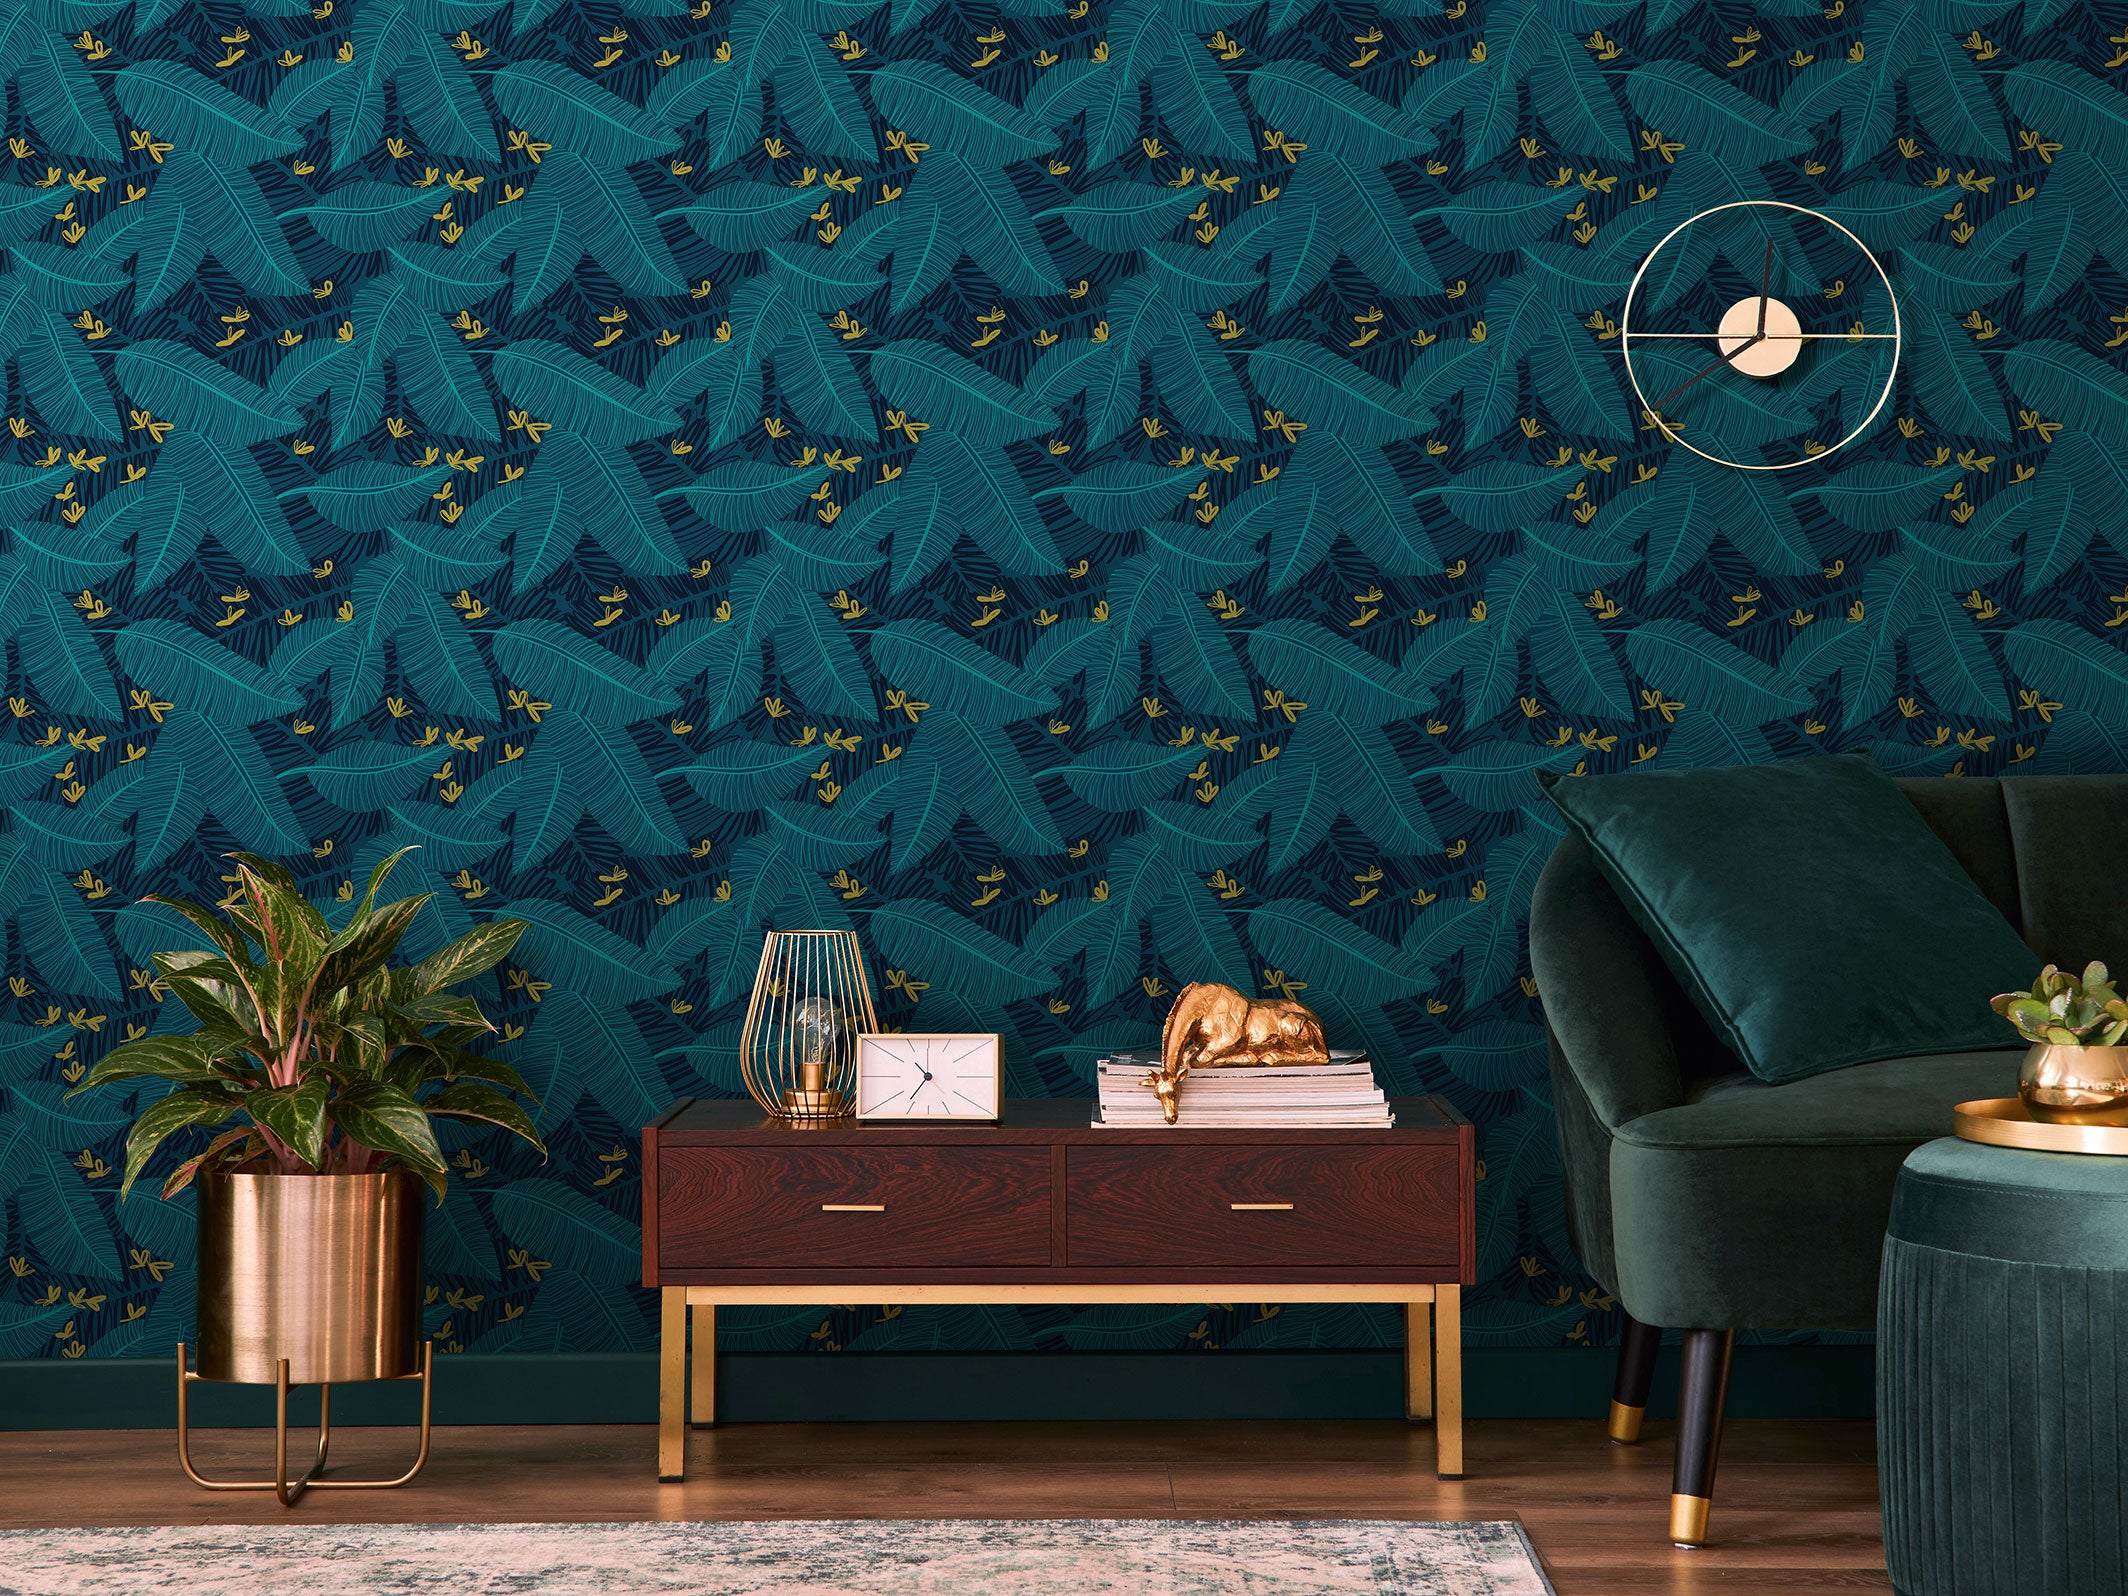
How to hang wallpaper?

This wallpaper hanging guide is designed to help you wallpaper your home.
Prerequisites
Wallpaper is a delicate product that requires careful handling. To successfully install your wallpaper, please follow all the steps in this guide step by step.
• Type of surface: Make sure that the surface to be wallpapered does not have any holes or cracks or that they are filled beforehand.
• Temperature: If the wallpaper is installed in a room where the temperature is very low, it may shrink slightly, creating a space between the strips. If possible, it is recommended to install the wallpaper at the end of the project, in a room heated to at least 19°C.
• Glue: Use only transparent, non-vinyl non-woven wallpaper glue to avoid white marks on dark colors. Use a ready-to-use paste glue to avoid lumps. It should only be applied to the wall and not to the paper.
• Wet rooms: For bathrooms, kitchens or toilets, the wallpaper must not be in direct contact with water (shower, bathtub, sink, washbasin), place it above a base that will protect the paper from splashes. You can use glue for wet rooms to ensure that the paper holds well.
The installation steps
1. Check the support
Your surface to be wallpapered must be:
• Solid (resistant)
• Healthy (no mold)
• Clean (no dust)
• Flat (slight imperfections possible but no holes or cracks)
• Dry
• Absorbent (neither too porous nor waterproof)
2. Prepare your tools
To hang wallpaper, you will need:

3. Place your markers

Measure the width of the first strip of wallpaper. The corners of a room are not always straight. For this reason, you should not hang the first strip along the corner of the wall, but rather rely on a vertical mark previously drawn with a level: from the door or the left corner of the wall, draw a vertical line with a pencil, using a level, the width of the first strip (-3 cm) from the left corner of the wall. You will hang the first strip along this line and not from the corner of the wall.
Laying the first strip is key!
If it's not perfectly vertical, all the others will be crooked.
4. Paste the wall to be wallpapered

Using a roller or brush, spread the paste on the wall only (never on the back of the paper), leaving a little excess on the lines and without forgetting the corners. In cold rooms, wait 5 to 10 minutes before laying the strip, to limit the shrinkage of the paper as it dries.
Do not use too much paste, as excess paste can damage the wallpaper. If excess paste is applied, remove it immediately using a clean, dry cloth, gently wiping the wallpaper.
5. Hang the first strip of wallpaper

Before hanging the wallpaper, cut the first strip, making sure to add 5 cm to the length. Once the strip is cut, position it at the top of the wall, along the installation axis you drew in step 3 (leaving a margin at the top of at least 1 to 2 cm, or more if your ceiling is not straight). If any bubbles get stuck under the paper, dry your hands thoroughly first, then very gently smooth down* the entire surface using a wallpaper brush or a simple soft, clean, dry cloth, starting at the top and moving from the center to the ends.
* Smoothing the strip helps to remove imperfections such as air bubbles that may be between the wall and the wallpaper. Run the wallpaper brush over the strip, without pressure (you can use a wallpaper brush or a plastic spatula delicately). The movement should be from the bottom to the top and then from the inside to the outside, without pressure to avoid deforming the surface.
6. Line

Each new strip will be laid next to the previous one using the same steps. Be careful not to overlap the strips when laying.
7. Adjust the dimensions

Once all of your strips are dry, use the cutter and a ruler to trim along the baseboard and ceiling.
8. Grab a chair, a coffee, and admire the result!


If you wish, you can download our installation guide in PDF format →


Leave a comment
This site is protected by hCaptcha and the hCaptcha Privacy Policy and Terms of Service apply.